Who’s up for a Quickie?

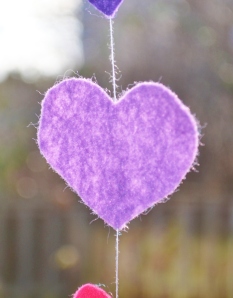
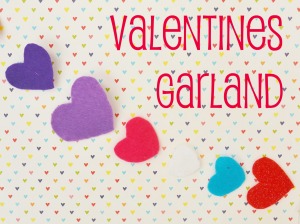
A valentines craft quickie that is!  I decided to whip up one more before the big day is upon us.  I saw a ton of  felt and paper christmas garlands on pinterest and thought it would be really fun to adapt one for valentines day,  This is another great one to get your kids involved with. Super fast and super easy.

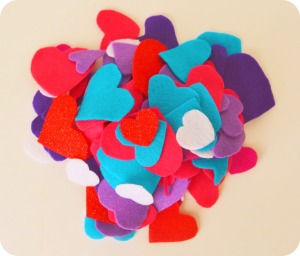
First you cut out a whole bunch of hearts.  Probably about  50-60 depending how long you would like  your garland to be.  This  part is great for the kids to do, so  you can cook dinner, fold laundry, clean the bathroom, you know, the fun stuff.

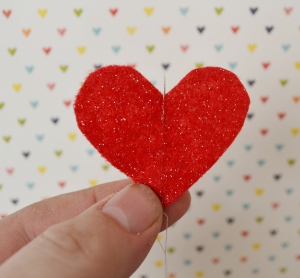
With what ever color thread you like,  feed a needle through the center of the felt heart.  Try to keep it in the  middle so you can’t see the thread on either side of the  heart. Repeat. Repeat. Repeat. Repeat. Well, you get the picture right?

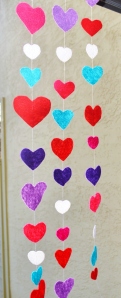
You can space them with gaps between each heart.

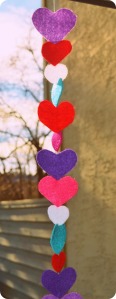
Or no gaps.  Whatever you like.  If you are going to do gaps it might be a good idea to tie a knot on the string, thread your heart on and then tie a knot at the top of the heart. This will help them to remain evenly spaced.

See I told you it was fast.  I hope you have a great Valentine’s day and spend it with people you love.

Hearts, Hearts Everywhere!

So with Valentines day  quickly approaching added to the fact that I have 4 little girls in my home means that on top of the regular amount of  pink in my house, we are now bombarded with hearts too.  I  don’t mind too much.  My husband, well, he puts up with it. The craft that  we worked on  earlier in the week will be sticking around for  a while.  So I guess that means he will have to put up  with it for a while.

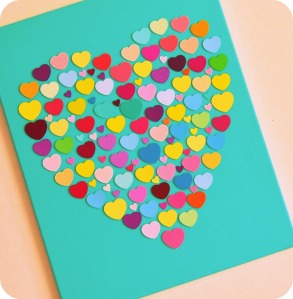
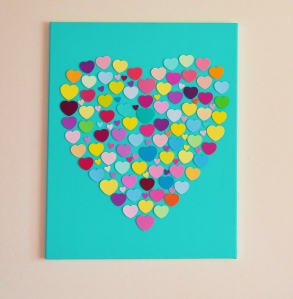
My girls have been in a room that has desperately needed  some decoration.  We  have done  posters from time to time but they never seem to last long.  I was also wanting to do  something a little more permanent so this is  what we came up with.

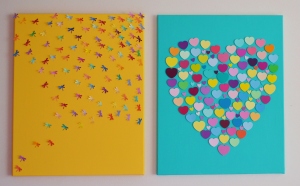
This was a really easy  craft and  very hands on  for my older two. I actually gave them  each a  canvas to work on and let them  do whatever  they wanted to on theirs.  I  did this one on my own.  There is a perfectionist  streak in me that I am  working on but I can’t quite let it go. So we did one together too.

They loved the  dragonfly punch  so they  went crazy punching them out. We worked on the yellow one together.

If  you would like to  give this a  try it’s super easy and, this is  my favorite part, cheap! I  spent twenty dollars on a  5 pack of  canvas and then I  used things that I already had on hand.  Here’s what you will need:

Canvas

Paint and brushes

Paint Chips

Paper Punches, whatever shapes you want.

Glue or pop dots

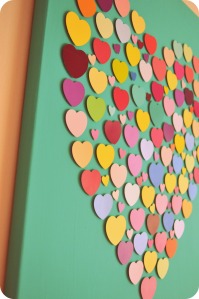
First you paint your canvas whatever color you like and allow  plenty of time to dry. About twenty-four  hours.  Using  the paint chips (which  you can get for free if you go to the paint section of your local hardware store or Wal-mart and ask very nicely) punch a big pile of hearts.  When my canvas was dry I placed the paper shapes where I wanted them  to go and used pop dots to  stick on the  hearts.  The pop dots added a nice bit of dimension.  It makes the picture stand out a bit. That’s it. Easy peasy lemon squeezy.

This is a great  craft to do with your kids.  What I loved about  doing it  was watching  how  the different personalities of  my girls came through while we were crafting.  My eight year old was very meticulous and took her time placing the pieces and  my six year old  just took piles of  shapes and  put them on piles of glue. I really  had fun doing this craft, if  you give it a try I would love to hear what you think.  Do you have a favorite activity to do with your little ones?

Valentines Treats

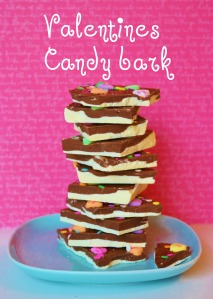
I  can’t believe it but  here we are  two full weeks away from valentines day and I have actually  finished the valentines for  my oldest two girls classes. Seriously.  If  you knew  me  you would know that I am usually finishing these things at 11:00 the  night before they need to be there.  But  for whatever reason I actually finished them early  and I love the way they turned out.

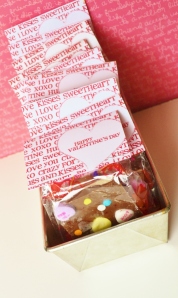
This was a super easy food craft to make and it  was a lot of fun for my girls  to help with. From making the bark to packaging it up they  were very hands on. Which was great because they  like to be hands on. Which is sometimes hard for me  because I want things to look perfect but that’s a post for another day.

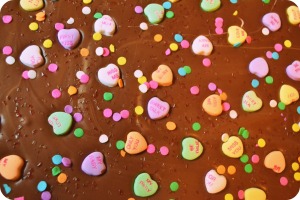
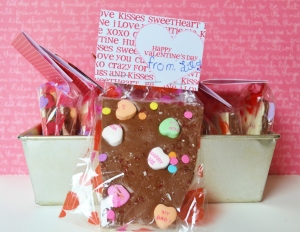
The process to make the bark was very easy.  For 45 kids I used about 3 lbs  of melting wafers. Half white chocolate and half milk chocolate, conversation hearts and colored sprinkles of your choice.  Over low heat we  melted the white chocolate wafers and poured them onto a large clean cookie sheet. We did the same with the milk  chocolate wafers and poured them over the white chocolate before it set.  Before the milk chocolate sets sprinkle the conversation hearts on  and then  your sprinkles.

This is what you’ll have:

A yummy chocolatey tray of Valentines treats.  Now for the fun part. Break it up. Snap it into evenly sized pieces. You will want to make sure that you have a few extra pieces left for  testing.  Quality control is very important.

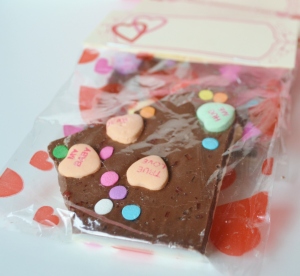
At our local dollar store we found  packages of forty  valentines themed cellophane bags for a dollar, the perfect price for us, and packaged them up.

I had been looking on pinterest for some  valentines printables and found these and these (I don’t know if I will ever get through another post without mentioning pinterest).   Printed them out and they were a perfect fit.

What are you doing for Valentines Day? Do  you have anything special planned for your kids?

A Rainbow Fairy Party!

My sweet Sammy girl turned 6 a couple weeks ago, holy is time ever flying by! Sammy is about the most girly tomboy you will ever meet. She loves dresses and dirt, sparkles and mud. So when her birthday rolls around I am always curious to see what theme she will pick for her birthday. This year it was girly! Hurray for me!

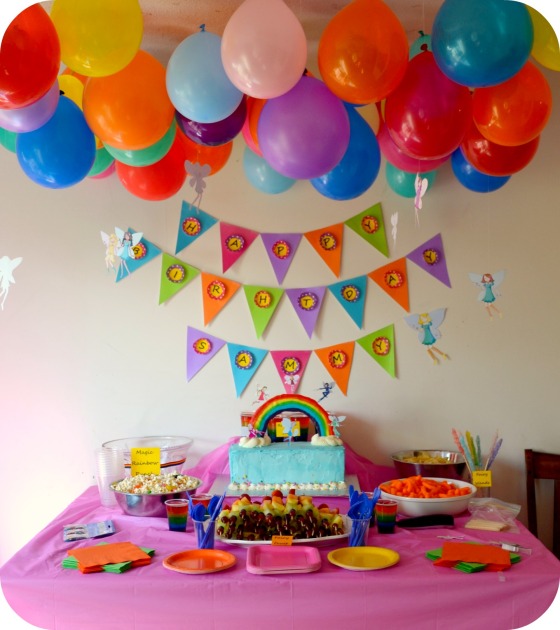
She settled on a  rainbow fairy  theme which  was  great because I  had  been  pinning a  ton   of rainbow ideas on Pinterest.   Incorporating   fairies  seemed  to be  the tricky part  until  I  stumbled across the Rainbow  magic  website.  They  have this lovely “create a  fairy” activity  so   we went to the  site  and Sam  spent  about an hour designing and printing  out  fairies (I spent a lot longer  cutting them out!).

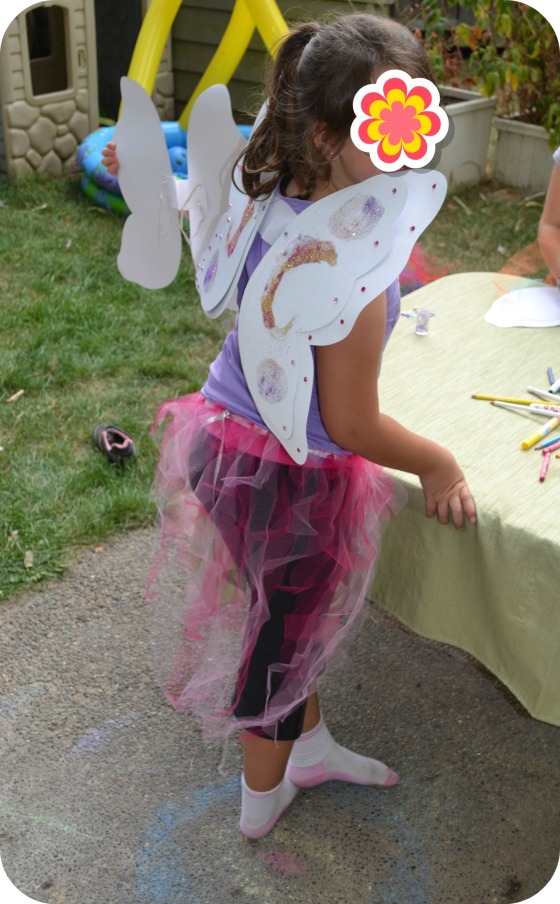
For the  activities we  decorated fairy skirts, wands and  wings.

The skirts were super simple to make.  I tied a length of elastic in a circle and then had the girls tie strips of  different color tulle on it.  I found that tying on 4 or 5 pieces at a time on really helped speed things along and also made a fuller looking skirt.  The wings came from Michaels and we decorated them  with glitter,  glue, feathers, jewels and markers.

There are a ton of ideas on pinterest for rainbow parties so I  found some fun ideas  there for the food.

The  jello was easy.  We made the jello colors separately and  added a new color  when each layer in the cup had set. We made fairy popcorn (popcorn with jelly beans  sprinkled on top) and “Magic” punch.   The  week before the party I took the punch cups and put a couple drops of food coloring in the bottom of each one.  I did different colors in each one and allowed them to dry before the party.   The  punch was made of 7-up and white cranberry juice.  When  the  guests scooped the  white punch in their  cup it “magically” changed colors.

The  fairy wands were a big hit.  The  girls started  working on those in August and they  didn’t  turn out  quite as well as I   had  hoped they would.  They  were pretty skinny and  we decided after  using 12 pounds of sugar that we were  just going to leave them that way!

We also had Fairy Fruit

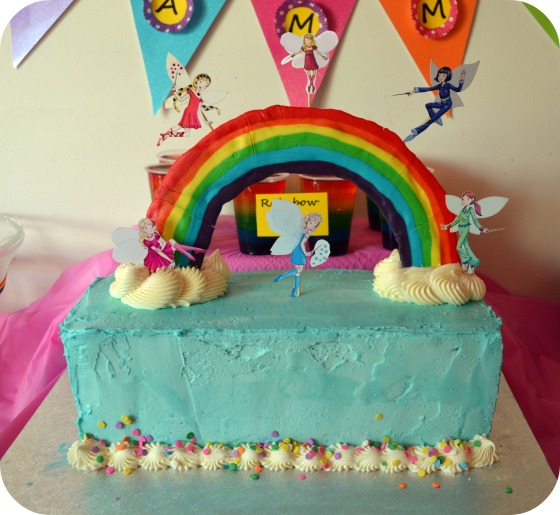
But the favorite  thing of the day was the cake.

I  used marshmallow  fondant to  make the rainbow on the top of the cake.  The inside…….

 A rainbow of course!  I was a  fun party.  The girls  had a blast and  the  birthday girl was thoroughly impressed.

Rice Krispie Lollipops

One of my favorite ways to spent my time is in the kitchen baking for my family. I love it. When I had my first daughter I knew that she was going to be my baking buddy, so whenever possible I try to include her in what I am doing in there.  She loves it.

We like to take goodies to school for holidays and celebrations, and because tomorrow is the last day of school she wanted to do something really special for the kids in her class.  This is what we came up with.

I had seen a picture of something similar to this in my online travels and decided it would be a fun project to try.

Here’s how we did it.

12 cups Rice Krispies
1/2 cup butter
1 tsp vanilla
600 grams Marshmallows (about 90)

Chocolate and vanilla melting wafers  (about 1 lb each)

Rainbow Sprinkles


Melt the butter in a large pot and add the marshmallows. when the marshmallows are melted stir in your vanilla. Add the rice krispies and stir until they are well coated. Pour the mixture into a greased 9×9 pan. Pack it in there really well. I actually built the squares so they were about an inch above the top of the pan.

Next you place your lollipop sticks in the squares. If you like perfection you can make a 9×9 grid on paper and mark where you would like the sticks to go then place the paper over the pan and insert them.  If you are me then you just eyeball it and end up with a mostly even result.

Press the rice krispie mixture very firmly down around the base of the lollipop sticks while they are still warm. The firmer the better because when the mixture cools you want those sticks to hold the square in place.

When the squares are cooled remove the whole 9×9 square and cut into pieces. I cut five rows of five from one pan.

For the decorations we used white and chocolate melting wafers and two different kinds of sprinkles. Melt the wafers in separate bowls. Place your sprinkles in bowls too.

Dip the lollipops one at a time in the chocolate (being sure to shake off the excess) and then into the sprinkles. Place on a sheet of wax paper until dry. Then wrap and enjoy.

Easy peasy.

I wanted to add a tag to the lollipops and I found these little owl tags which were perfect.

I have already thought of about 15 variations that I am going to try down the road but for now I’m done.  I hear my girls calling and I hate to disappoint them!

Spring Break

This March marks the second year of the the two week  spring break for my girls.  While they are super excited to have this much time off of  school I  have been dreading it a  little bit.  Not the spending time with my girls  part but definately the keeping them busy part.   With only three weeks to go until my official due date the pace I keep during the day  is quite a bit slower with  just Glory at home.  I’m not goning to lie,  I miss my naps.

So here we are at the halfway mark and in an effort  to occupy the girls I have dipped into my wealth of ECE resourses and  found some  great activities  to do with and for the girls.   Todays  activity is sidewalk paint.  Super easy and  a total hit with the kids.  They measure, mix and use this almost by themselves and  will spend literally hours outside painting and repainting the driveway.   It also has a realy nice consistancy  so the colors are bright and vibriant when they are applied the to pavement.

So here’s the recipe:

1 part Cornstarch

1 part Water

Food coloring

Mix until smooth and you have a super easy activity that will keep the little  ones (and not so little ones) busy.   Because the  cornstarch can be a bit difficult to stir at first  you might need  to help stir it,  and if you are anything like me you will DEFINATELY want to take full control help with adding the food coloring.

I will hopefully be back tomorrow with another activity.  Or maybe I will have a nap.  We’ll see what happens.